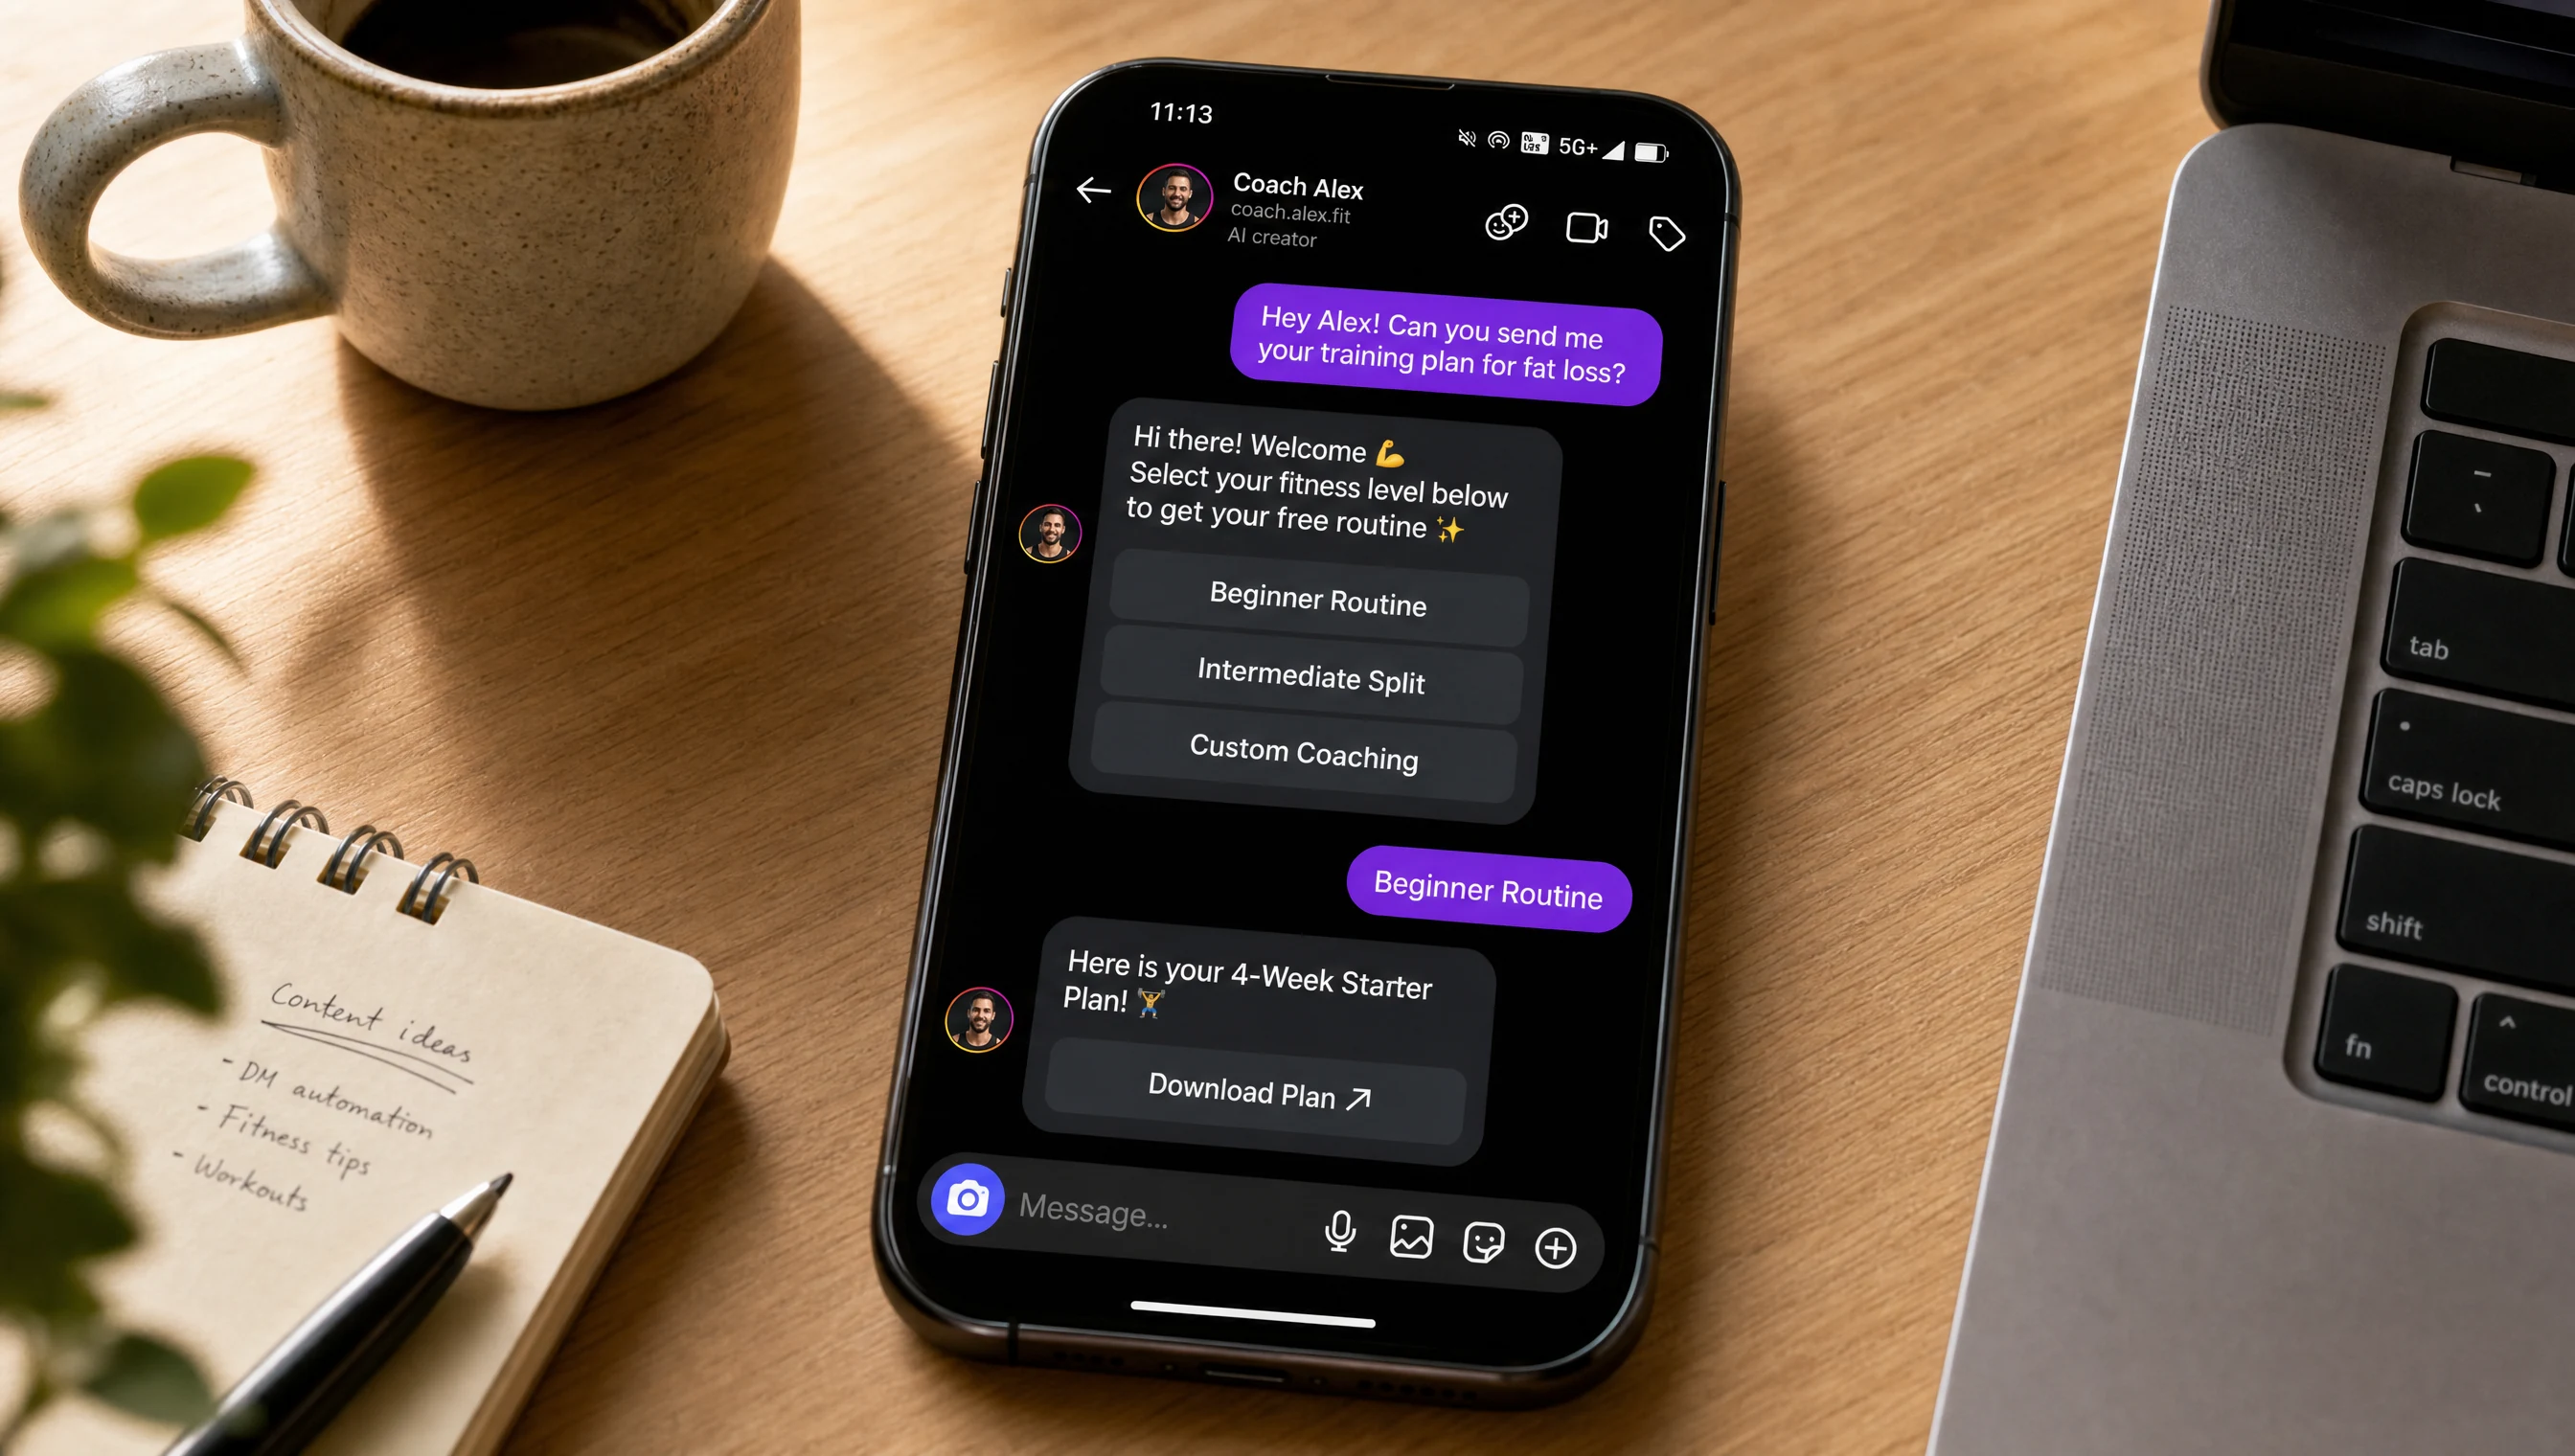
What Is a Keyword Trigger DM Flow?
A keyword trigger DM flow is a multi step automated conversation that starts when someone sends you a specific word in a direct message. Not in comments. In DMs. The person types a keyword like "info" or "pricing" in your DM inbox, and the system responds with a structured flow: messages, buttons, follow up questions, link delivery, and lead capture.
This is different from comment automation. Comment automation fires when someone comments on your posts. Trigger DM flows fire when someone messages you directly. Two separate features, two separate use cases.
Think of it as building a conversational funnel inside Instagram DMs. You define the trigger word, write each message node, add interactive buttons that branch the conversation into different paths, and optionally collect information like emails, phone numbers, or names. The system handles everything after the first keyword. You do not need to be online.
User DMs the Keyword
Someone sends a message like "pricing" or "guide" to your Instagram DM inbox.
Flow Starts Automatically
The system matches the keyword and sends the root message with buttons or an info request.
User Interacts with Buttons
Each button tap advances the conversation to a new node with its own message and options.
Data Captured as a Lead
If you added Collect Info nodes, the user's responses are saved as lead fields in your dashboard.
How to Create Your First Trigger DM Flow (Step by Step)
This walkthrough covers every screen and option in the flow editor. Follow along with your AutomateYourDM dashboard open.
Open the Trigger DM tab
Log in to automateyourdm.com, go to your Instagram account dashboard, and click the DM tab at the top. If your account has the Trigger DM feature enabled (available on paid plans), you will see the Trigger DM automation panel. This is where all your flows live.
Click Create New Flow
Click the Create New Flow button. This opens the visual flow editor, a full screen canvas where you build, connect, and configure every part of your automation.
The editor has three main areas. The left sidebar shows all your existing flows so you can switch between them. The top header has your flow name, the enabled/disabled toggle, and the Save button. The center canvas is where you build the actual message tree.
On mobile, the sidebar becomes a bottom sheet and the settings move behind a gear icon. Everything works the same way, just rearranged for smaller screens.
Name your flow and set trigger keywords
In the header bar, type a descriptive name for this flow. Something like "Lead Gen" or "Pricing Info" or "Free Guide Delivery." The name is for your reference only. Users never see it.
On the canvas, you will see a Trigger Keywords box at the top. Type a keyword and press Enter to add it. You can add multiple keywords to the same flow. Each keyword appears as a pill tag. Click the X on any pill to remove it.
Example keywords for different use cases:
Keywords are case insensitive. "GUIDE" and "guide" both match. You do not need to add separate entries for uppercase variants.
Next to the keywords, there is an Exact Match toggle. When Exact Match is on, the user's entire DM must be the keyword and nothing else. "guide" matches, but "send me the guide" does not. When Exact Match is off, the keyword just needs to appear anywhere in the message. Choose based on how your audience talks.
Build the root message node
Below the trigger keywords box, you will see the Root Message node. This is the first message the user receives after they trigger the flow. Type your opening message in the text area. Make it conversational and clear about what happens next.
Below the message text, you have three options for what to attach to this node. Let me break each one down.
The Three Things You Can Add to Any Node
Every node in the flow (the root message and every child node) gives you three options. These options are mutually exclusive in one specific way: a node can either have buttons OR collect info, but not both at the same time. Here is what each option does.
Quick Reply Buttons
Quick Reply buttons appear as tappable options below your message. When the user taps one, the conversation branches to a new child node with its own message and options.
Button limits
- Up to 13 Quick Reply buttons per node (when no URL buttons are present)
- Each button label is max 20 characters
- Each button auto creates a connected child node
How it works
- Click + Quick Reply on any node
- Type the button label (what the user sees)
- A new empty child node appears below, connected by a line
- Fill in the child node's message and add more options
Quick Reply buttons are the building blocks of branching conversations. A fitness coach could have a root message asking "Which program are you interested in?" with three buttons: "Beginner," "Intermediate," and "Advanced." Each button leads to a different node with program specific information.
URL Buttons
URL buttons open a web link when tapped. They do not create child nodes because the user leaves the conversation to visit the URL. Use these to send people to checkout pages, booking links, download pages, or any external resource.
URL button rules
- When you add any URL button to a node, the total button limit drops to 3 (this is a Meta platform constraint)
- You can mix Quick Reply and URL buttons on the same node, but the total cannot exceed 3
- Each URL button needs a label (max 20 characters) and a valid URL
- URLs that do not start with http:// or https:// get https:// added automatically
Collect Info (Lead Capture)
Collect Info turns a node into a data capture step. Instead of showing buttons, the system asks the user a question and waits for a free text reply. Whatever they type gets saved as a lead field.
Available field types:
A Collect Info node works differently from buttons. After the message sends, the system marks the session as "awaiting input." The next message the user types (whatever it is) gets captured as the value for that field. So if you selected "Email Address" and the message says "What email should I send the guide to?" the user replies with their email, and the system saves it.
After capturing info, you have two options. Click Collect More to chain another data capture node (for example, first collect email, then collect phone number). Or click Next Message to continue the flow with a regular message node that can have buttons.
Building a Complete Flow: Coaching Lead Funnel Example
Here is a realistic flow that a fitness coach might build to qualify leads and capture contact info through DMs.
Root: "Which Program?"
Trigger keyword: "plan." Message: "Hey! Which program interests you?" with 3 Quick Reply buttons: Beginner, Intermediate, Advanced.
Branch: Program Details
Each button leads to a node describing that program. For example, the Beginner node explains the 4 week starter plan and includes a URL button to the program page.
Collect Email
After the program details, a Collect Info node asks "What email should I send the full plan to?" and captures the email.
Final Confirmation
A final node says "Sent! Check your inbox. Want to book a free call?" with a URL button to the booking page.
This flow has 4 levels of depth. The user typed one word. The system handled qualification, segmentation, email capture, and resource delivery. Every email and every interaction is logged in the Leads dashboard. The coach reviews leads and follows up with the warm ones.
On the Pro plan, all trigger flow messages are unlimited. You do not pay per node or per conversation. Run as many flows and serve as many users as you want.
Flow Editor Features You Should Know About
The flow editor has several features beyond basic node building that make it faster to work with.
Pan and zoom canvas
Click and drag the blank canvas to pan. Scroll to zoom in and out. The zoom centers on your cursor position. On mobile, use one finger to pan and pinch to zoom. A zoom control bar at the bottom shows the current zoom level.
Auto save drafts
The editor auto saves your work to your browser session. If you close the tab by accident or your browser crashes, your unsaved changes are recovered when you reopen the editor.
Enable/disable toggle
Each flow has an enabled/disabled toggle. Disable a flow to pause it without deleting anything. Users who DM the trigger keyword while the flow is disabled will not get a response from this flow.
Flow sidebar
The left sidebar lists all your flows. Click any flow to switch to it without closing the editor. Click New Flow to start a fresh one. You can see at a glance which flows are enabled (green dot) and what their trigger keywords are.
Validation before save
When you click Save, the editor validates every reachable node. Empty message fields, missing button labels, button labels over 20 characters, and URL buttons without URLs all get flagged with red borders and an error toast. Fix the highlighted issues and save again.
Delete nodes and subtrees
Click the trash icon on any non root node to delete it along with all its children. The parent button that pointed to it is also removed. You cannot delete the root node, but you can change its content.
Managing Leads Captured by Your Flows
Every piece of data collected through Collect Info nodes gets stored as a lead in your dashboard. Each lead is tied to a specific flow and a specific Instagram user (identified by their sender ID, and their username when available).
To view leads, go to the Trigger DM tab and click the Leads button next to any flow. The leads panel shows every user who entered data, their captured fields (email, phone, name, budget, or custom values), and their current status.
Lead statuses
- New Just captured, not yet reviewed
- Contacted You have reached out to this lead
- Converted Lead became a customer
- Archived No longer active
Export options
- Export All: Downloads every lead for this flow as a CSV file
- Export New: Downloads only leads with "New" status
- CSV includes: username, sender ID, status, all captured fields, and timestamps
- Use the filter dropdown to narrow leads by status before exporting
If the same user triggers the flow again, their existing lead is updated with any new field data. The system does not create duplicate leads for the same person on the same flow.
Not What You Are Looking For?
Trigger DM flows solve a specific problem: structured, keyword started conversations inside DMs. If that does not match what you are trying to do, here is where to look instead.
If you want to reply to comments on your posts or Reels, trigger DM flows are not the right tool. That is comment automation, a completely separate feature. Comment automation watches your posts for specific keywords in the comments section and sends both a public reply and a private DM to the person who commented.
If you need AI to handle open ended DM conversations, trigger flows will feel too rigid. They follow a fixed tree. For conversations that need context awareness and natural language understanding, the AI DM automation feature handles incoming messages with intelligent, personalized replies without you building a flow.
If you want to auto respond when someone replies to your Stories or mentions you, that is story automation. It works on story reply events and story mention events, which are completely different from DM keyword triggers.
If you want to drive more DM conversations from your posts, start with comment automation. Comment automation watches your posts for specific keywords in the comments section and sends a DM to anyone who comments. It is a great way to bring people into your inbox so your trigger flows have conversations to work with.
Frequently Asked Questions
In DMs. This is not comment automation. When someone sends you a direct message containing your trigger keyword, the flow starts. Comment automation is a separate feature in AutomateYourDM that works differently.
There is no hard limit. You can add multiple keywords separated by commas. Each keyword is case insensitive, so "info" and "INFO" both match. If any keyword in the list matches the incoming DM, the flow triggers.
Exact Match means the entire DM must be the keyword and nothing else. If your keyword is "guide" and someone types "can you send me the guide" it will not match. Contains match fires if the keyword appears anywhere in the message. Contains catches more conversations but may produce false positives with common words.
If you only use Quick Reply buttons, you can add up to 13 per node. If you add any URL buttons, the total drops to 3 per node because Instagram enforces a 3 button limit for button templates that include web URLs. This is a Meta platform constraint, not an AutomateYourDM limitation.
Yes, but the total cannot exceed 3. Once you add a URL button to a node, the maximum becomes 3 buttons total, regardless of type. So you could have 2 Quick Reply buttons and 1 URL button, or 1 Quick Reply and 2 URL buttons.
You can collect five types of data: Email Address, Phone Number, Full Name, Budget, and Custom (for anything else). The user types their answer as a free text reply, and the system captures it as a lead field. You can chain multiple Collect Info nodes to gather several pieces of data in sequence.
Trigger DM Flows are included with unlimited usage on the Pro plan. There is no per message charge and no credit deduction for trigger flow messages. You can run as many flows with as many nodes as you need without worrying about message limits.
Yes. The system creates a session per user per flow. If someone sends your trigger keyword again, a new session starts from the root node. Previous lead data from that user is preserved and updated.
In the AutomateYourDM dashboard, go to the Instagram tab, open the Trigger DM section, and click the Leads button next to any flow. You can filter leads by status (New, Contacted, Converted, Archived), change statuses, and export all leads or just new ones as a CSV file.